To built the stealth grox box I used 250 actual watts of power in the flowering chamber. This should give us around 5-6 ounces of bud every grow cycle (60 days) depending on the strain, nutrients, grow medium, etc. Make sure you have good, Dutch quality cannabis seeds to use in this grow as well. I will get into nutrients, caring for your plants, etc in future articles. Alright, enough talk, let's get growing!!!
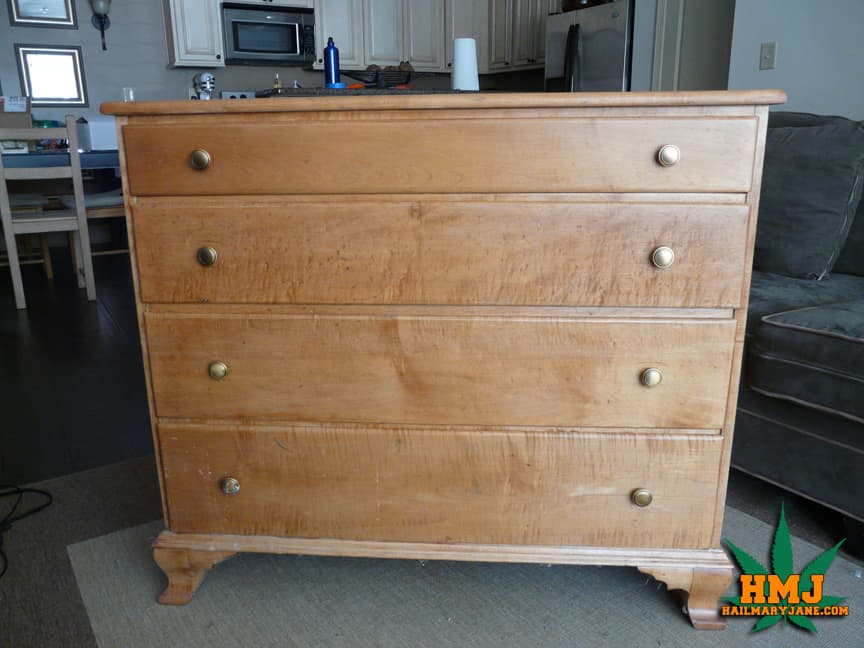
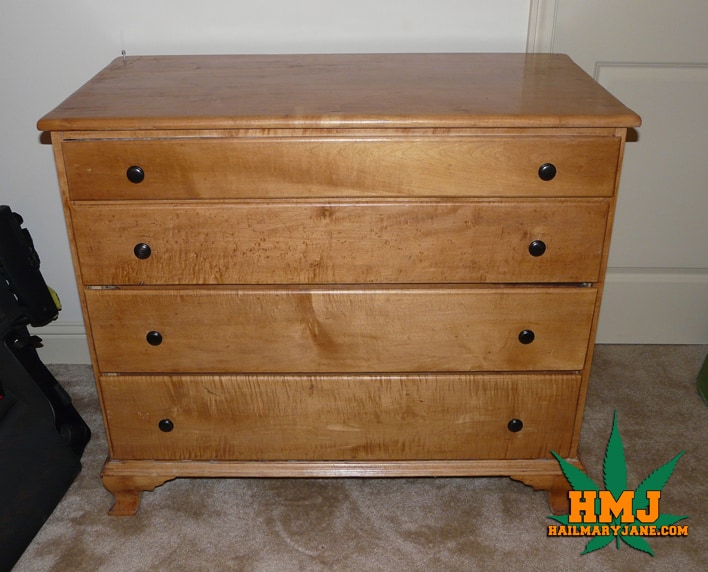
Here's the dresser untouched.
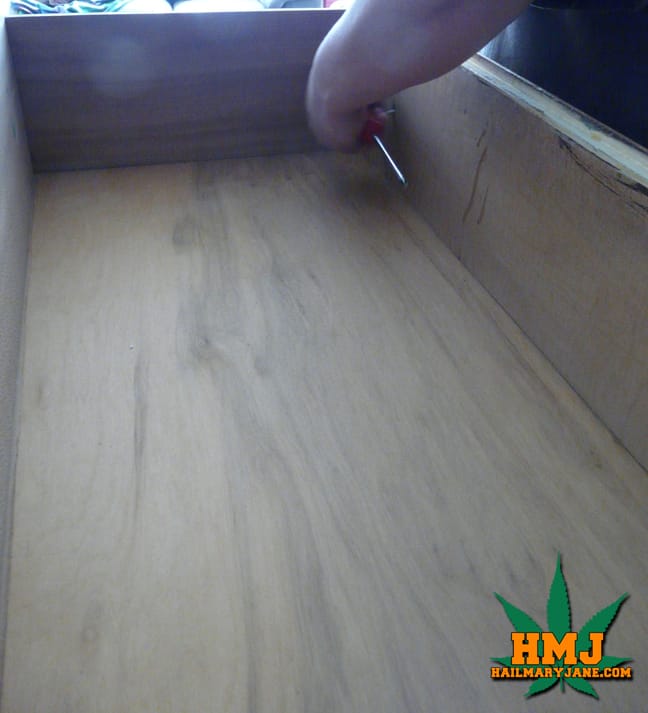
To start building a marijuana grow box, we took all the drawers out and began to take those apart with a rubber mallet.
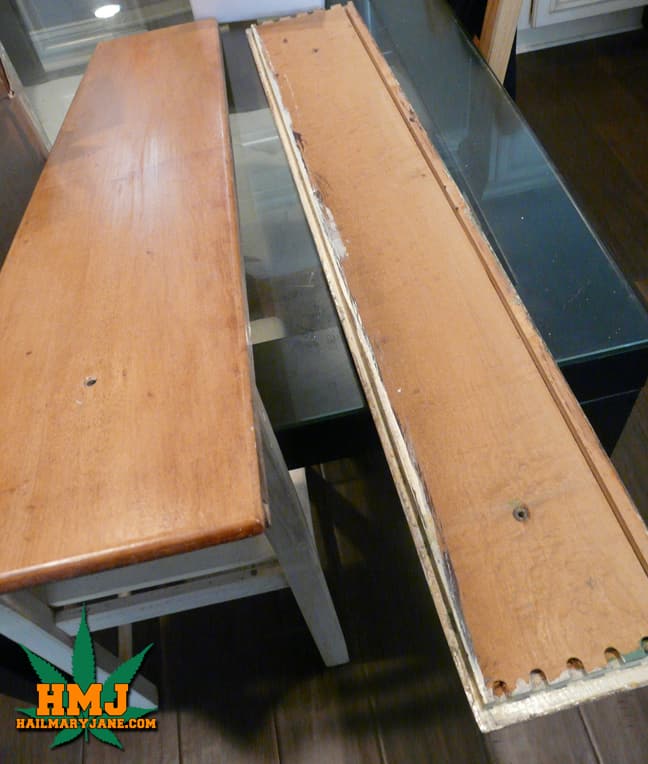
Drawer dis-assembly.
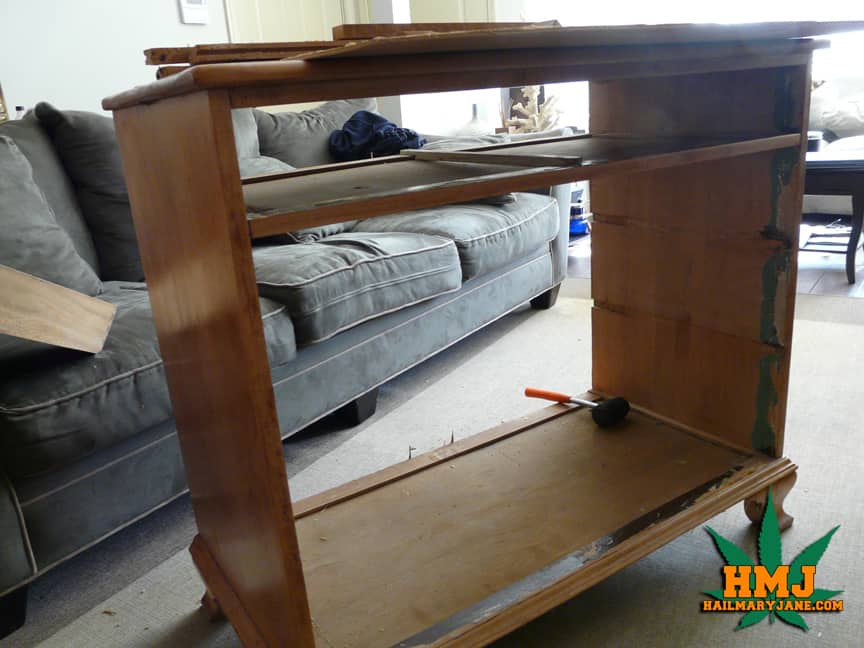
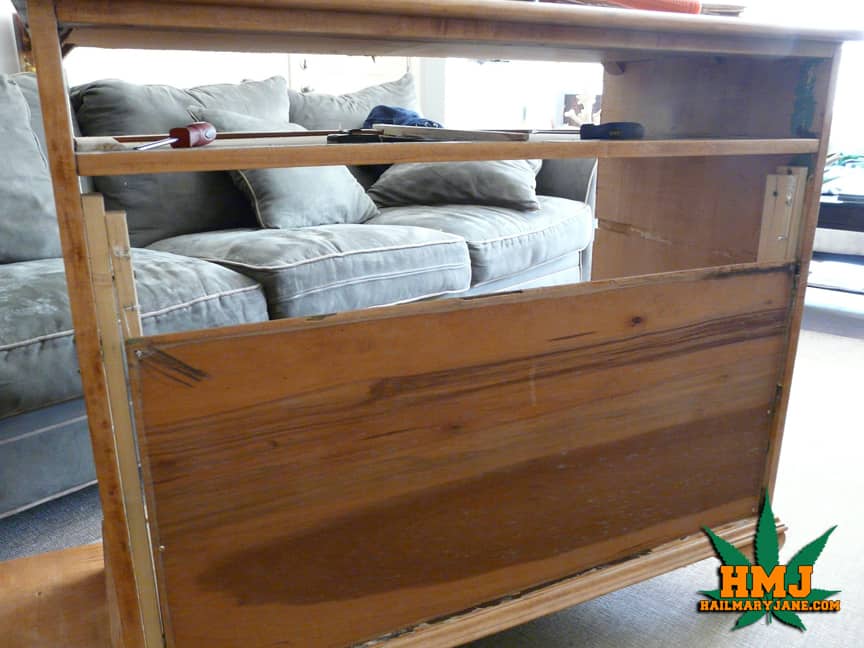
Here's the dresser completely gutted (except for the top shelf, I left that in so we could mount the exhaust fans and run the power through there)
Then we attached one of the drawer bottoms to the front of the dresser, so we would have something to screw the drawer fronts to
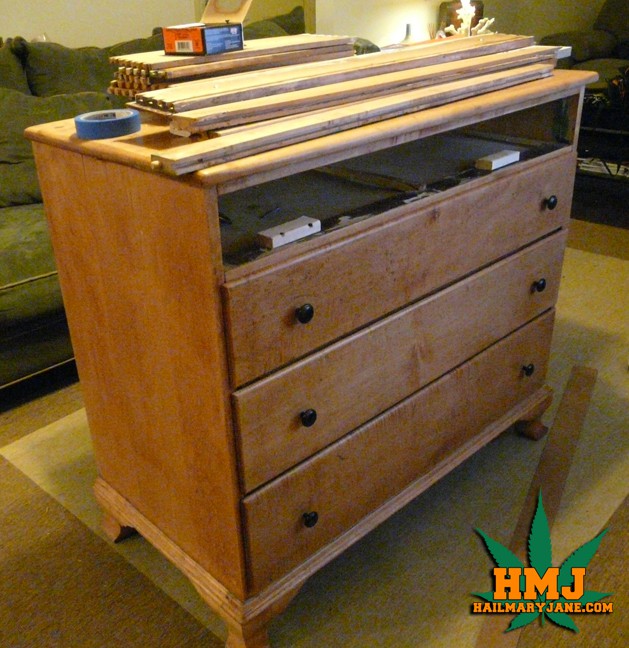
Then we attached the drawer fronts with the new drawer handles/pulls.

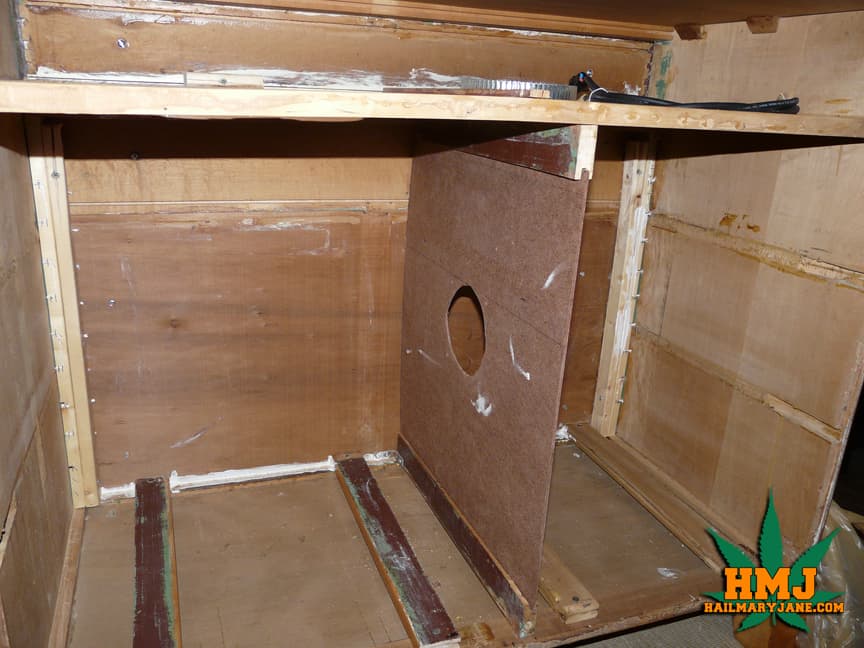
Once that was completed we cut a 6" hole on the inside top shelf we left in and we also added a partition wall in the middle with a hole cut out for a 120 mm fan. We also cut holes in the top of our flowering chamber for the 2-120mm fans we will mount there. Be sure to run caulk around the edges on the inside of the dresser so we don't have an issue with light leaks. I also cut 4 pieces of wood the same depth as the dresser and screwed them into the bottom. These are going to support our new floors.
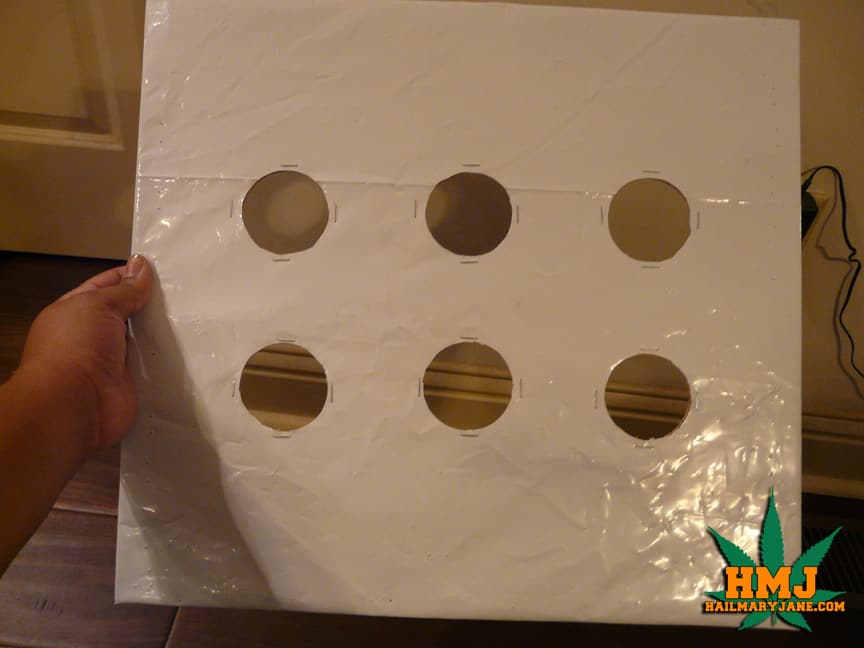
Next, make your floors from the scrap drawer bottoms. I drilled holes in them with a 2" hole saw bit for air flow. Air is your best friend in these small spaces! I lined the floor of the veg room with panda film, I'm making a separate tray to place the plants in the flowering area so I did not line that floor with panda film
Vegetative chamber floor.

Flowering chamber floor.
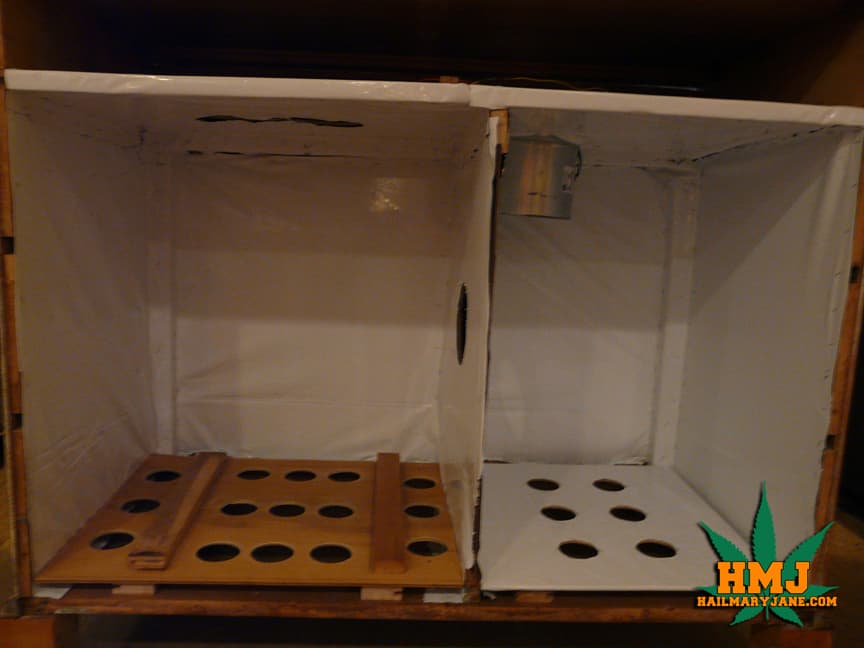
Next, line the entire interior of the dresser with panda film and install the floors.
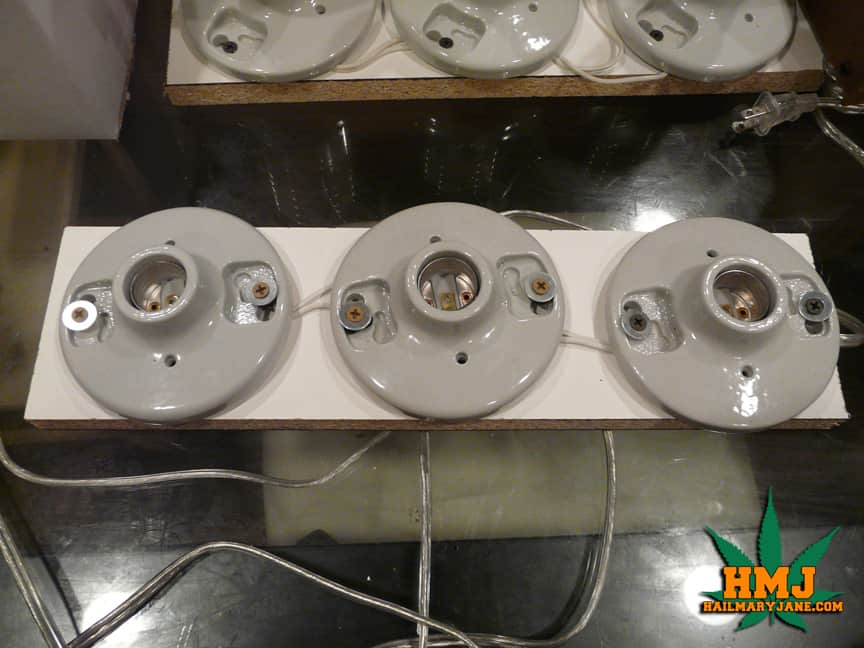
Now, time for the lights. I daisy-chained all the lights together and mounted them to some scrap 1/2" board I had laying around. You can use pieces of the dresser drawers for this also.
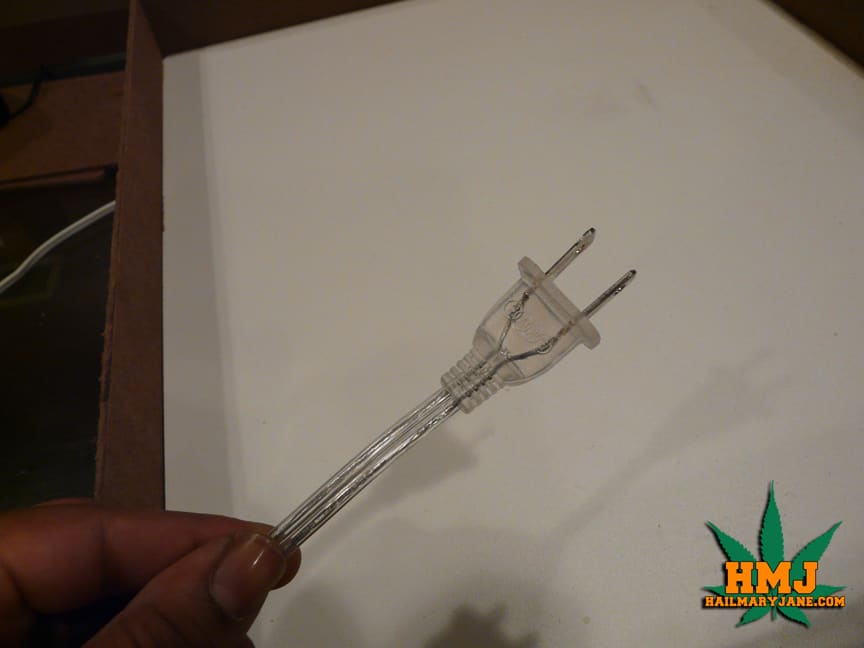
Lamp cord plug.
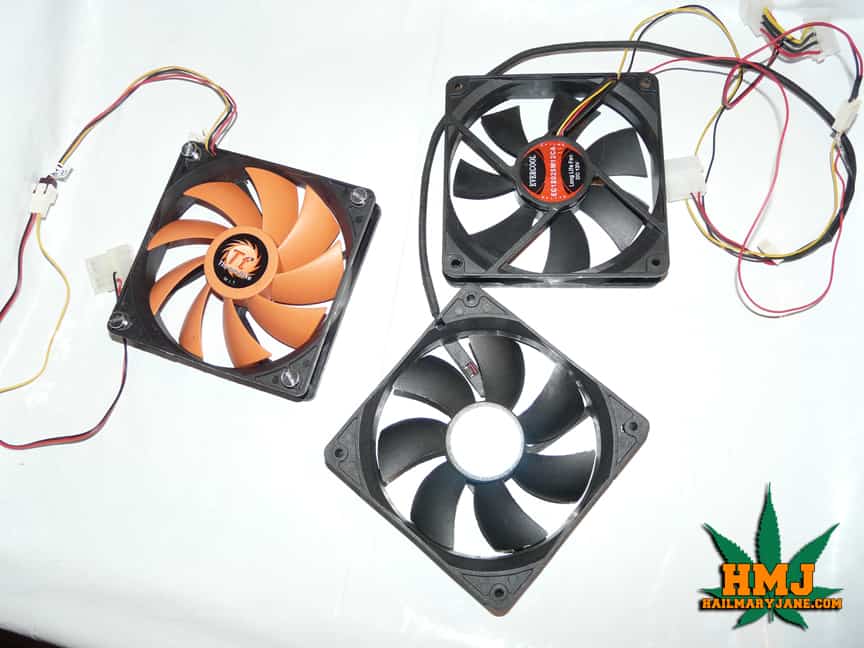
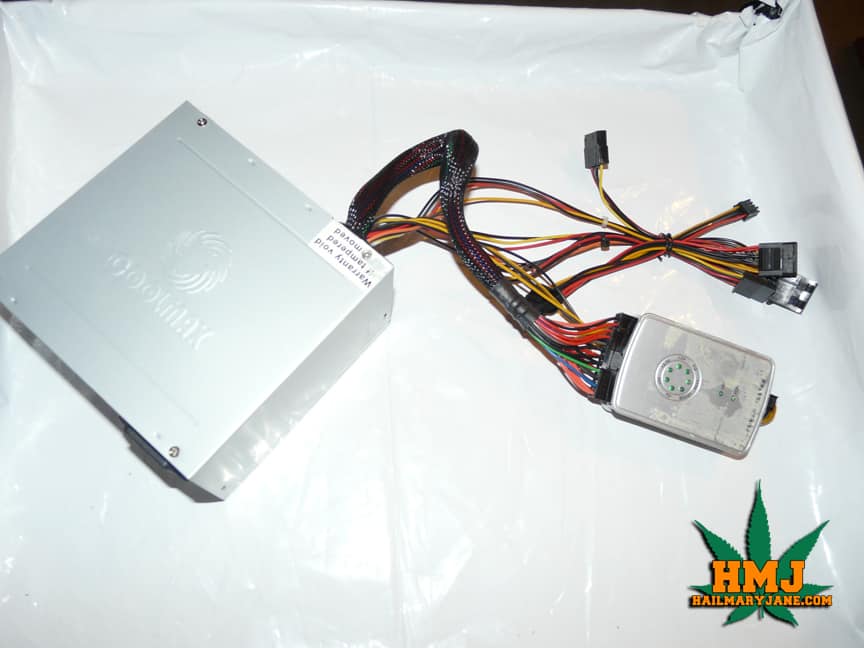
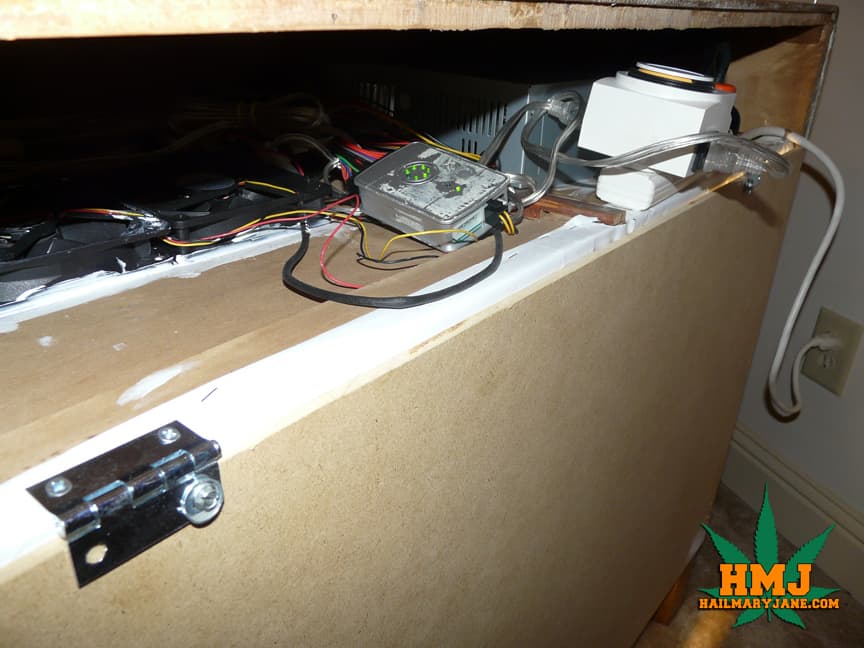
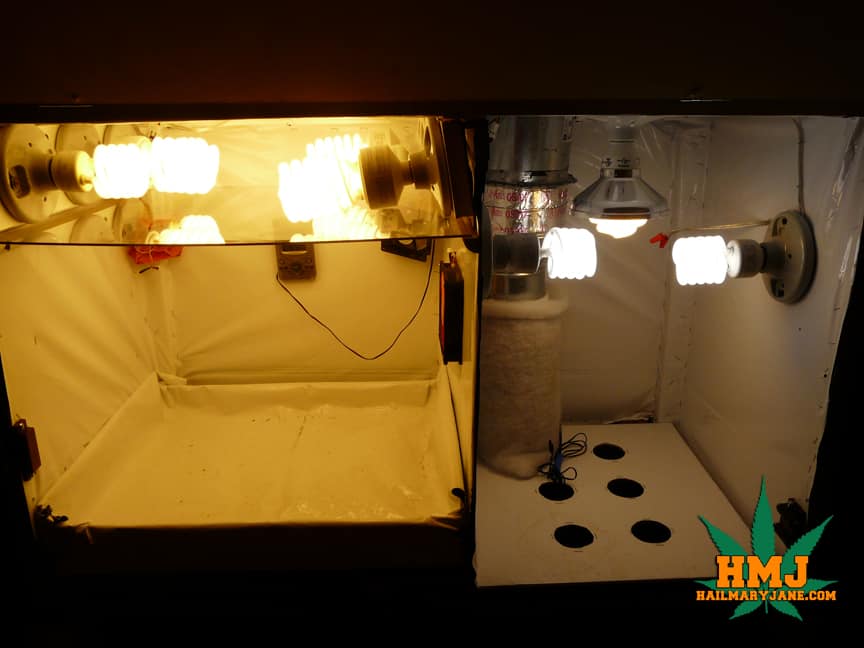
Now for the fans, I used 3-120 mm fans. I'm using 2 in the ceiling to exhaust hot air out of the flowering chamber (the lights will be sealed off by a piece of plexi glass), and 1 fan will be blowing air from the flowering chamber into the veg chamber. I powered these fans with a PC power supply. I got a power supply tester so the power supply would power the fans.
Now, mount the fans and the lights. I mounted 2-80 mm computer fans in the corners of the DIY stealth grow box, air flow is our best friend in these small spaces!
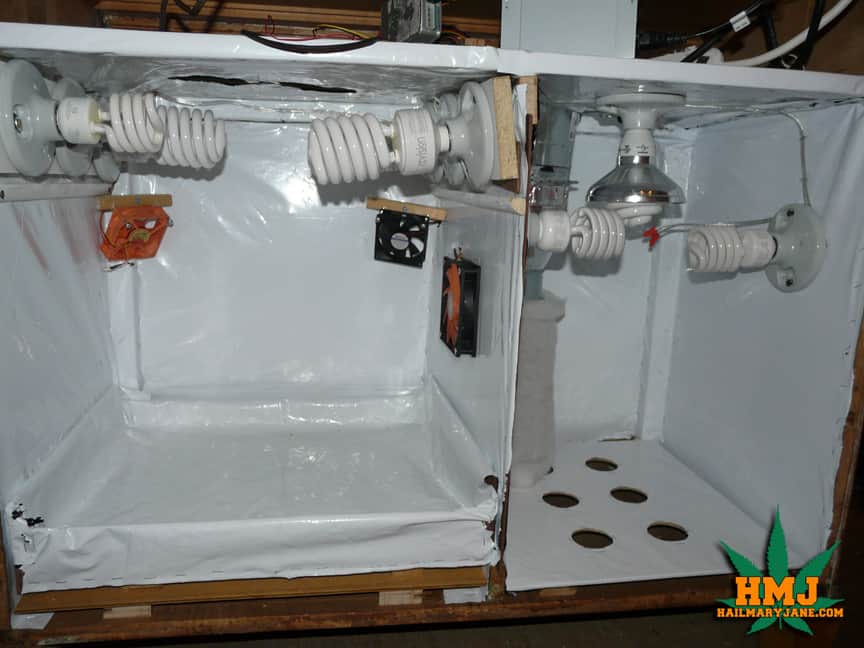
Lights and fans mounted.
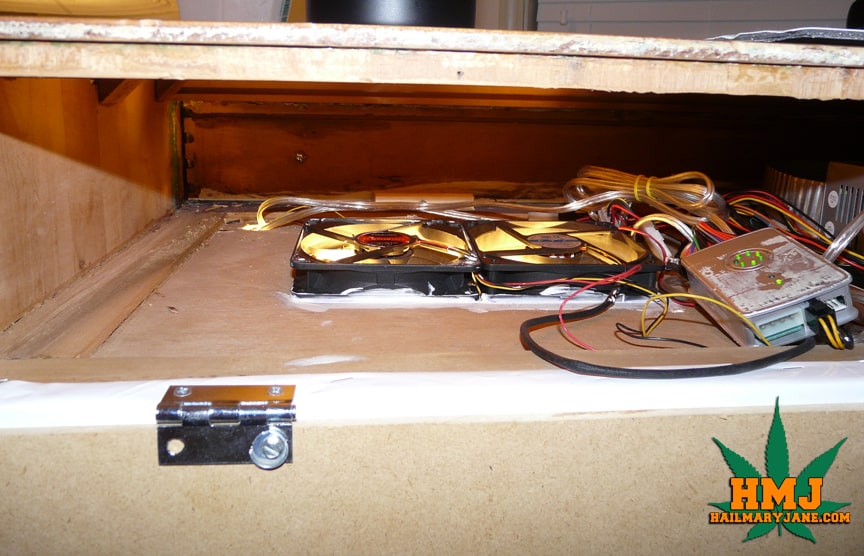
PC fans mounted, exhaust fans for flowering chamber lights.
Hinges attached to door.
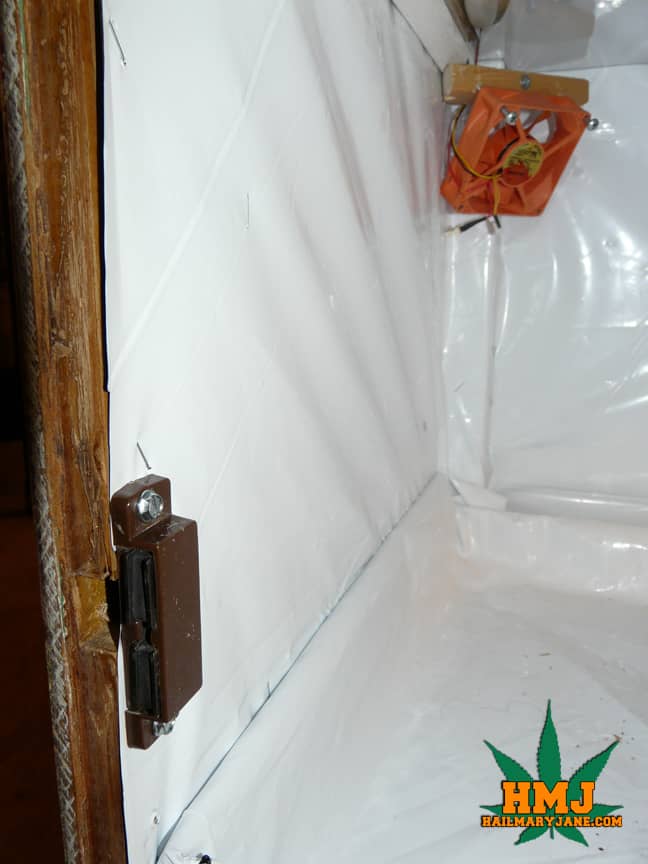
Magnetic closures attached
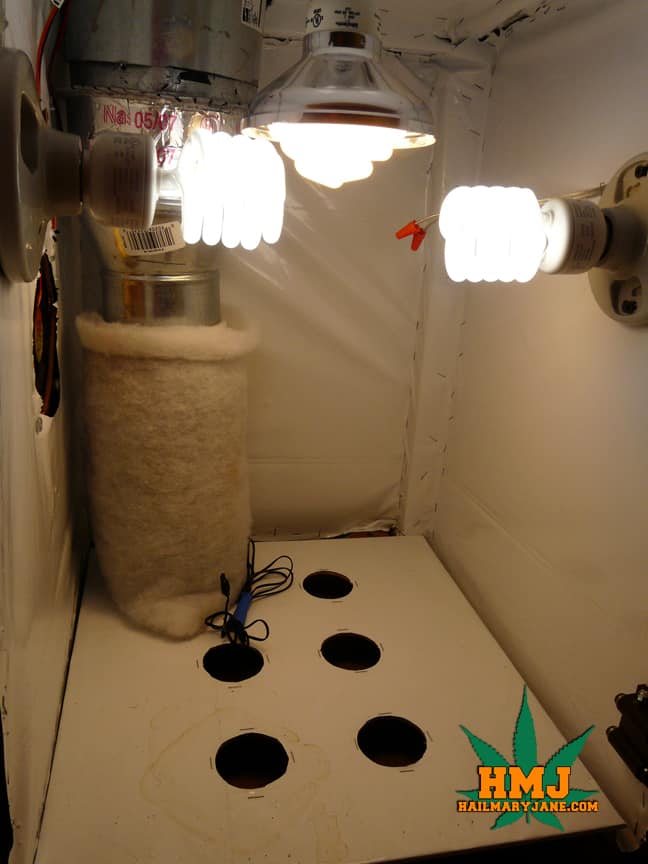
Vegetative chamber up and running!!!
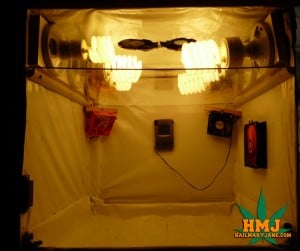
Lights on!
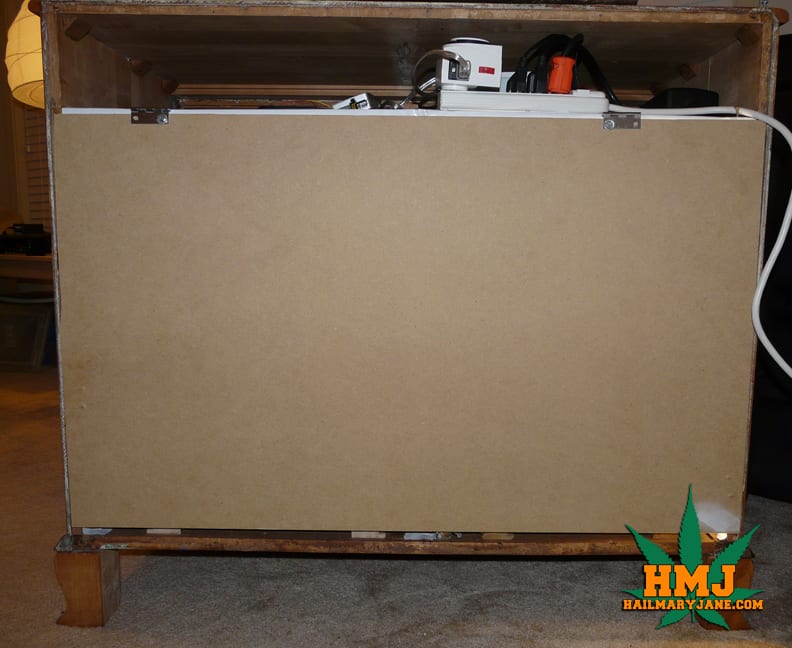
Door installed on back of dresser, still need to get a piece of hardboard to attach across the top of the back...
Grow weed box is done!
Front of the DIY grow box, DONE!
![Read more about the article How To Make Cannabutter: Beginners Guide to Making Edibles [2021]](https://www.hailmaryjane.com/wp-content/uploads/2018/01/Five-Easiest-Ways-To-Make-Cannabutter-1-300x154.jpg)


What’s the dimensions?
How do you get the fans to run from the pc power supply? You need to buy a pc power tester? I’m assuming there are plugs in the tester I plug the fans too?